Exporting Results
Export Results to Elasticsearch
- For DIPs not configured IAW 262COS-DIP-SOP-001, you will need to login to Kibana and create an Index Pattern for the newly created
nmapindex so that the data can be viewed in Kibana. - The output JSON and CSV filenames are appended with a timestamp that corresponds to when the scans were executed.
- The
Import-ToElasticsearchscript has the ability to deduplicate entries in Elasticsearch in the case that the same data was mistakenly imported into an index more than once.
-
Copy the
Import-ToElasticsearch.psm1script from262COS-Import_To_Elasticsearch-SCRIPT-001to the Windows VM -
Import the
Import-ToElasticsearch.psm1script as a module in your current PowerShell session:Import-Module -Force Import-ToElasticsearch.psm1 -
Copy the JSON scan result files to the PowerShell terminal's working directory in the Windows VM:
-
Use the
Import-ToElasticsearchcommand-let to import the JSON scan result files into Elasticsearch to an index namednmap:Import-ToElasticsearch -URL 'https://elasticsearch.<KIT_DOMAIN>:9200' -Username <ELASTIC_USER> -Password <ELASTIC_PASSWORD> -Index 'nmap' -JsonFile "./*json" -
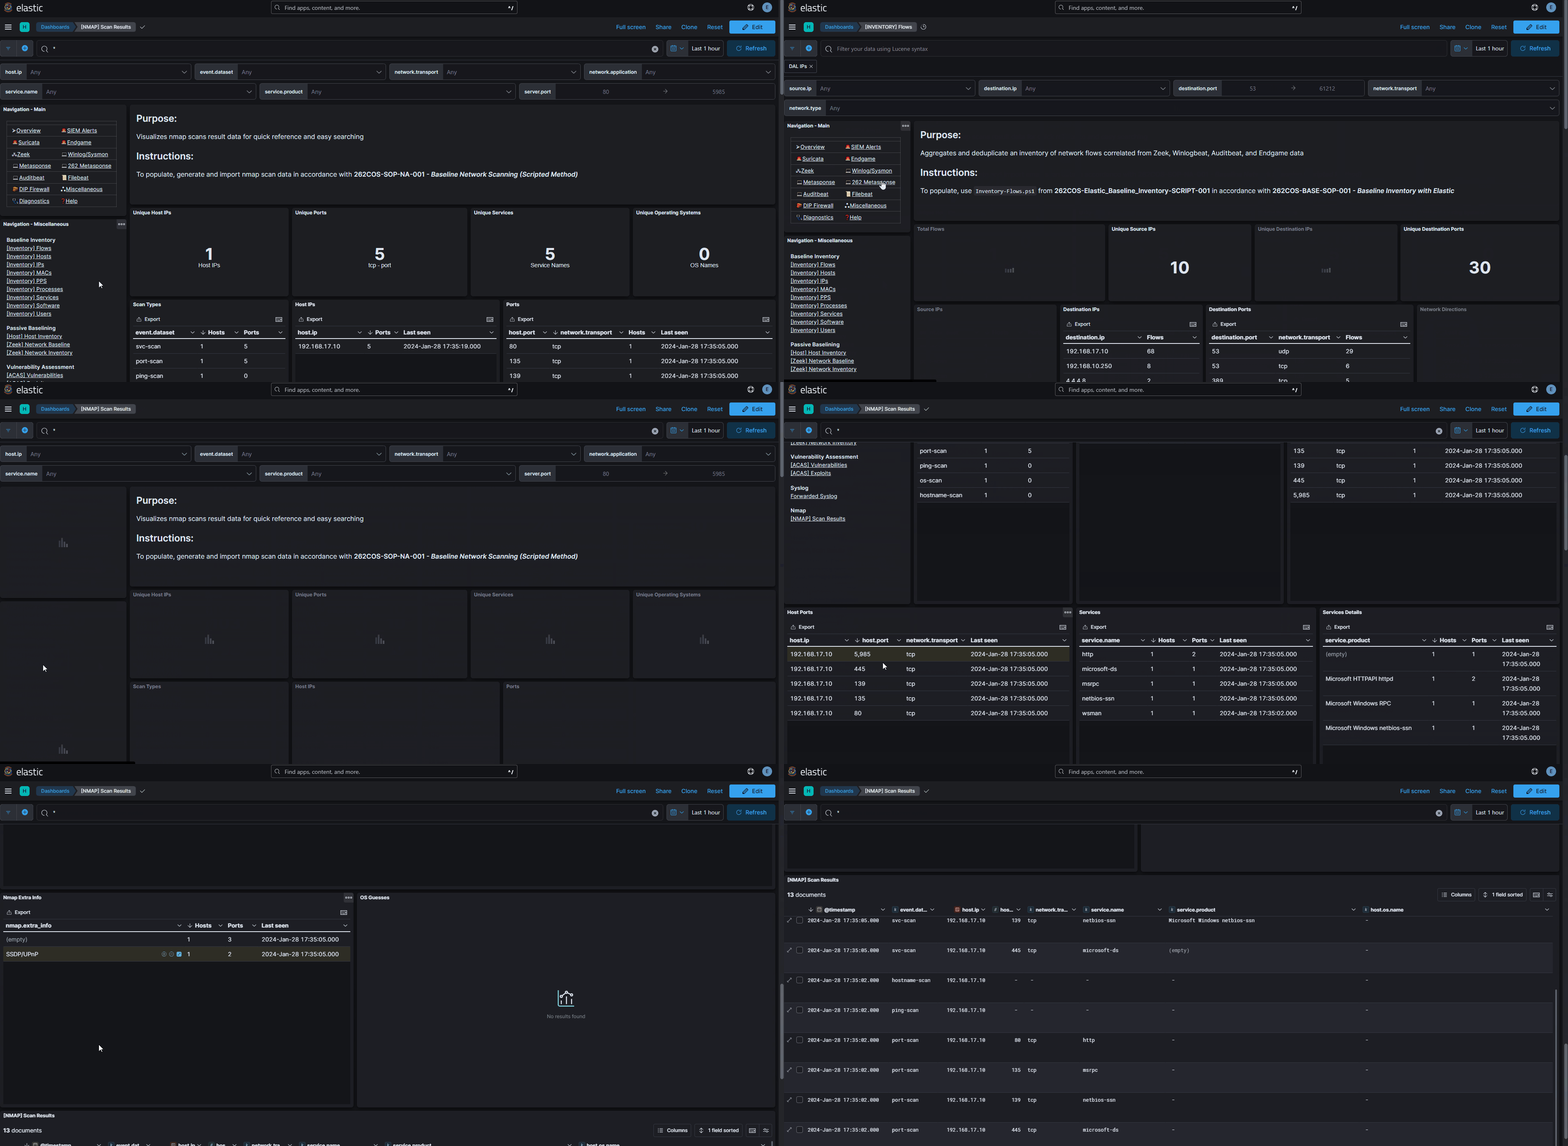
If using a DIP configured IAW 262COS-DIP-SOP-001, you will be able to access dashboards specific to the imported NMAP data through the in-dashboard navigation on the left side and clicking on the
Miscellaneouscategory
The event.dataset field can be used to filter between the different types of nmap scan results (hostname-scan, ping-scan, port-scan, svc-scan, os-scan)