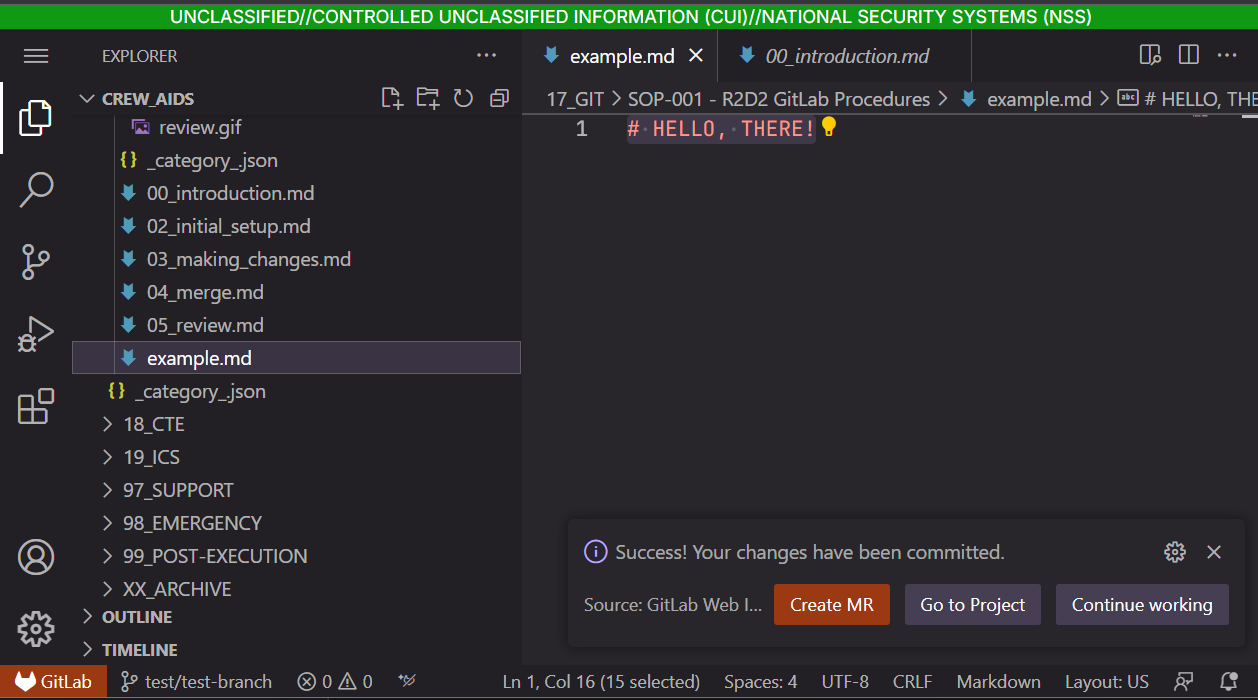
Web IDE
Checkout your branch
- From your project's repo page (SCRIPTS/CREW AIDS) open the web IDE.
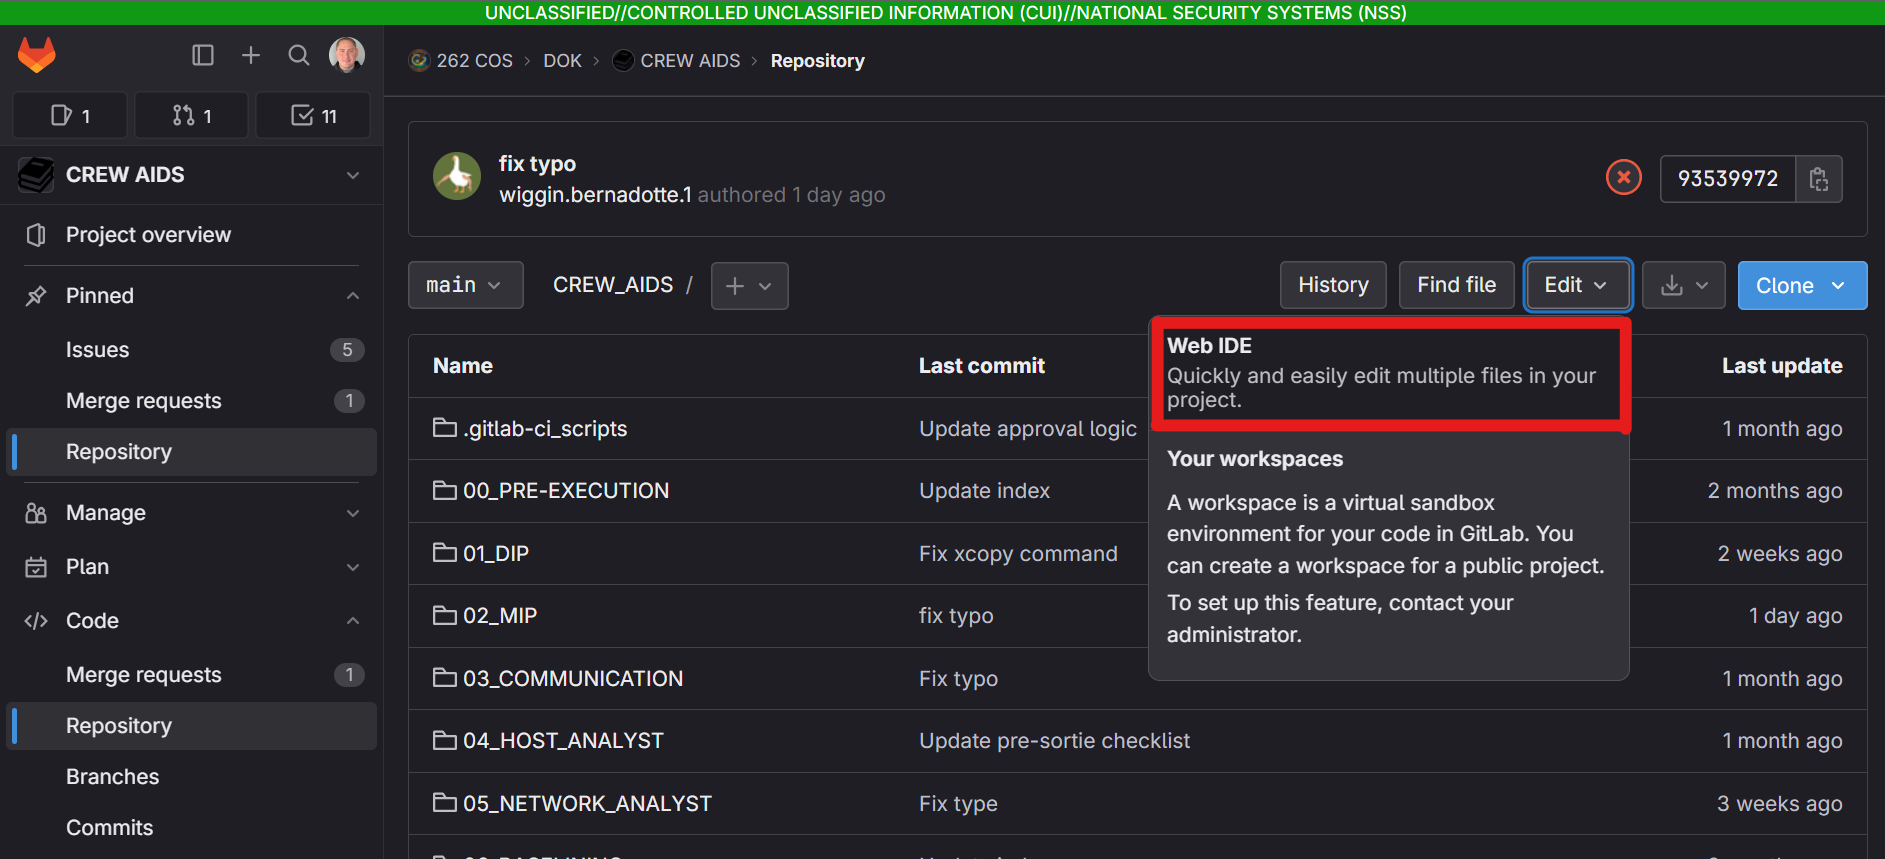
- You should be seeing an instance of VS Code in your browser. Select your branch. If it isn't in the list, make sure you completed the previous step
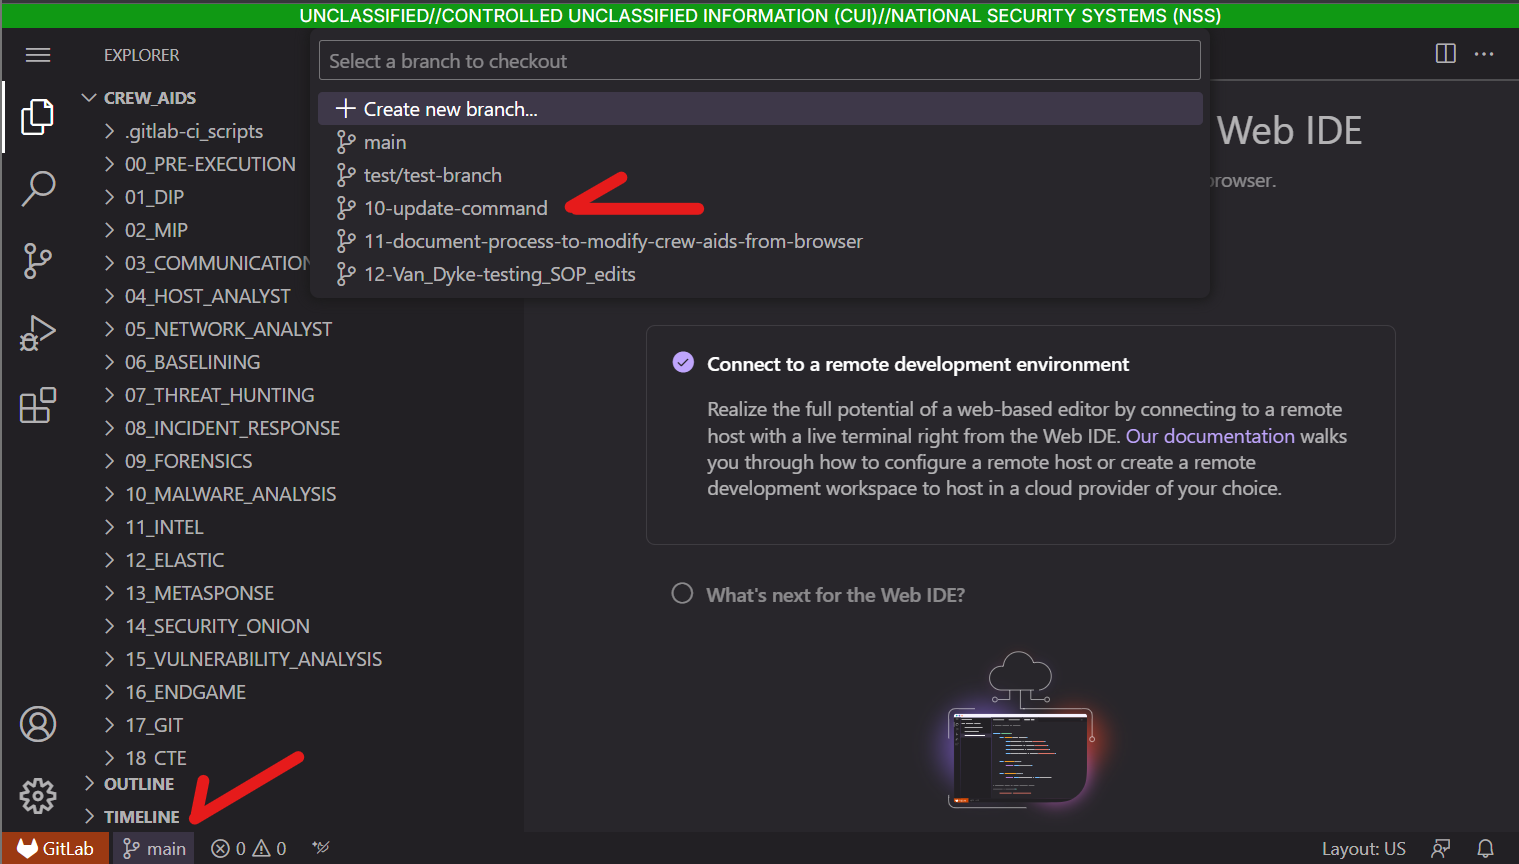
Make your Changes
note
Remember this is for small content changes or adding entirely new scripts and not for restructuring files/folders. you can break the crew aids website so please be responsible
You have access to all the files you need to modify crew aids. Make your changes!
SCRIPTS
Ideally, you're just uploading files from your MIP to the repo. Please include a README.md giving a desceription of the what the issue the script addresses, any caveats/assumptions, and how it goes about solving the issue.
Commit and Push
Once you are done making changes, we're going to commit your changes and push them to the GitLab server. You should see a notification bubble next on the source control icon in VS Code...CLICK IT!!!
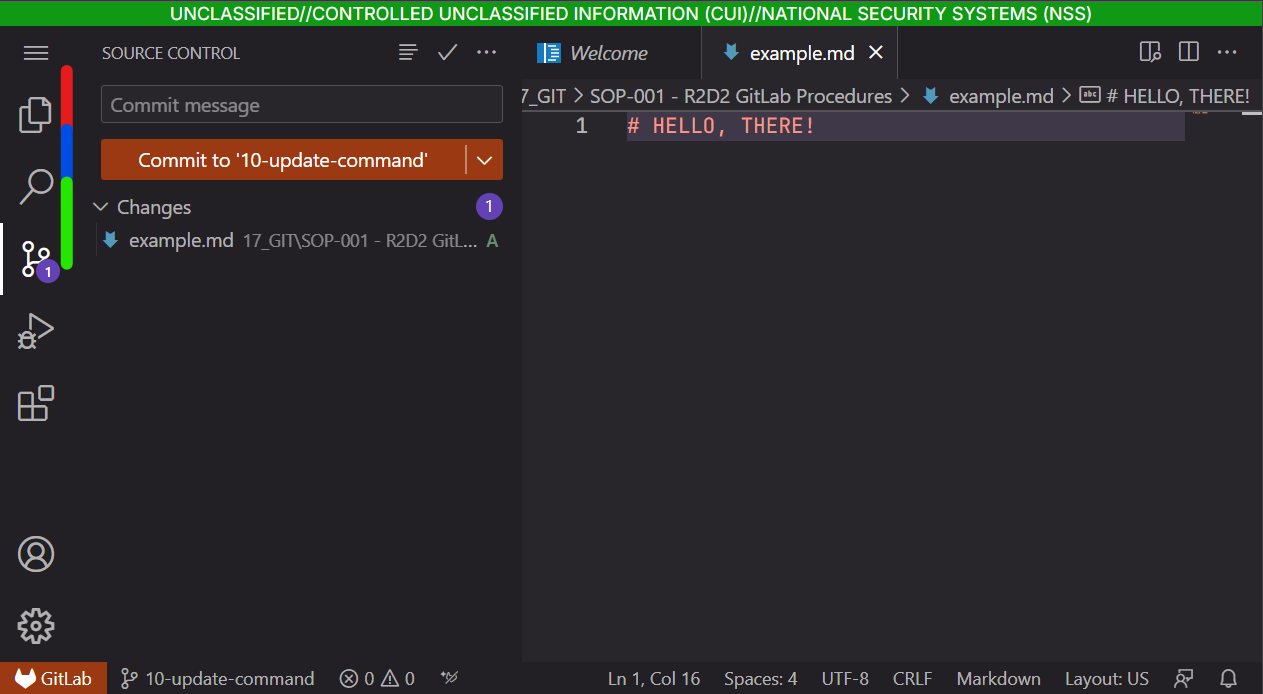
Source Control Panel review
From top to bottom on the source control panel we have:
- RED: commit message box. This is where you will write your commit message
- BLUE: commit button. It should not say
Commit to 'main'. This will submit your commit - GREEN: This shows changes to be included in the commit.
Creating your commit
- In the source control panel, review your changes and make sure they are what you want to save.
- Write a short commit message explaining what adding your changes will do
add a script to do XXupdate SOP-XXfix typo in SOP-XX
- Click the commit button!
- In the bottom right, you should see a pop up. Click
Create MRto create the Merge Request